Roasted Garlic Aioli
This post may contain affiliate links. Read the full disclosure here.
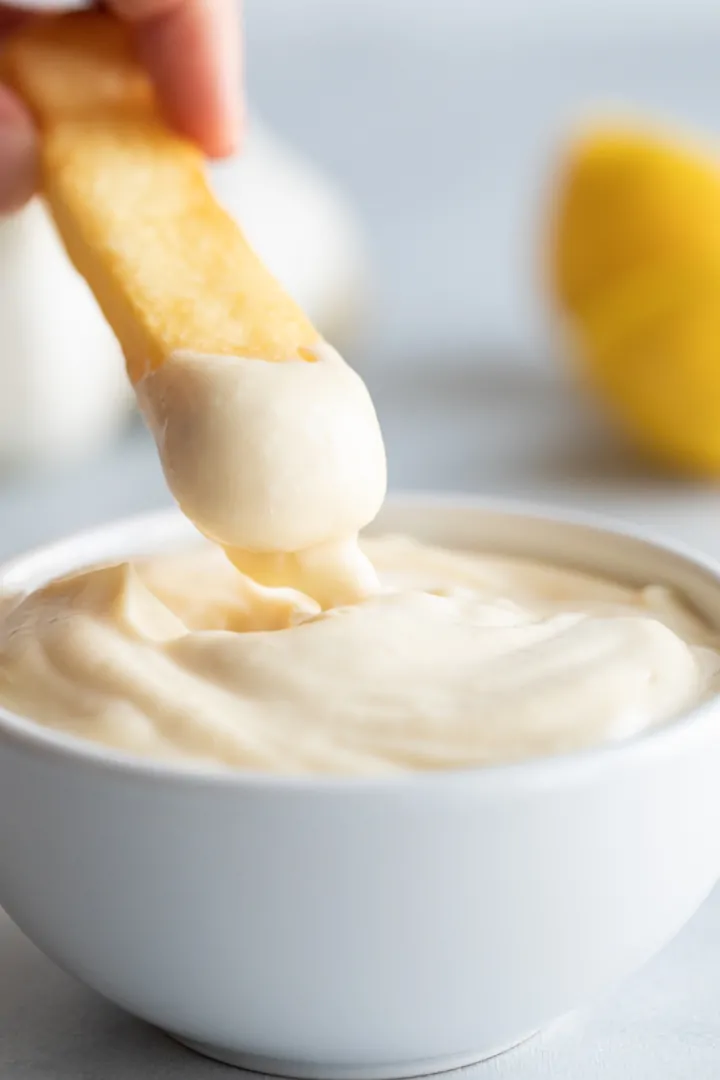
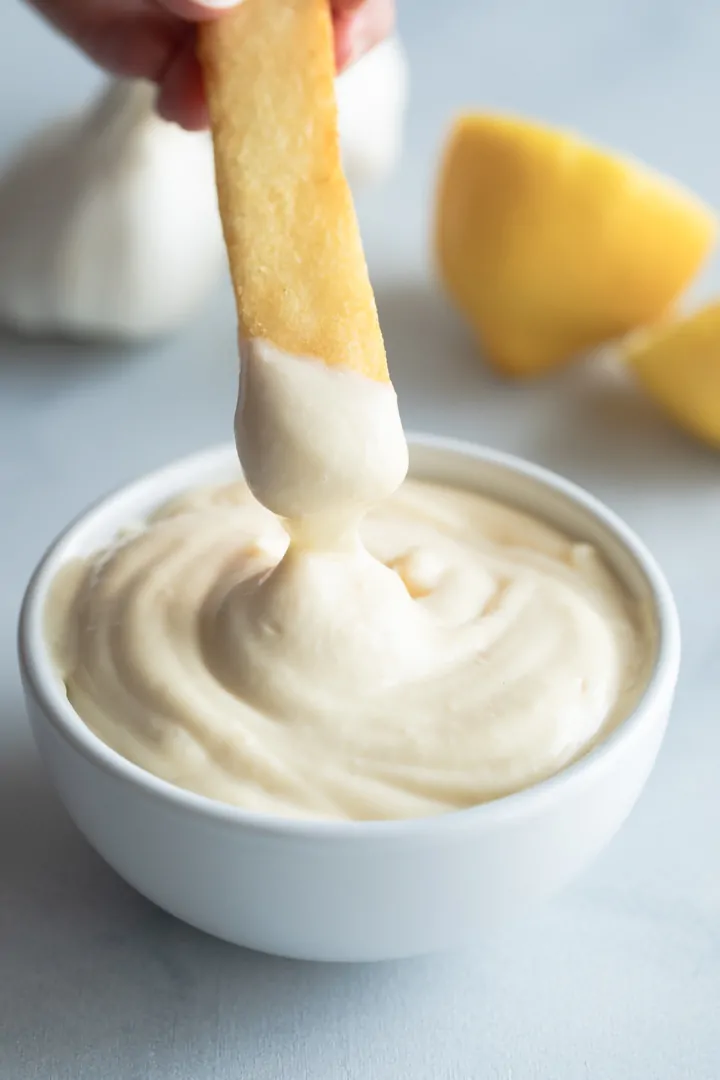
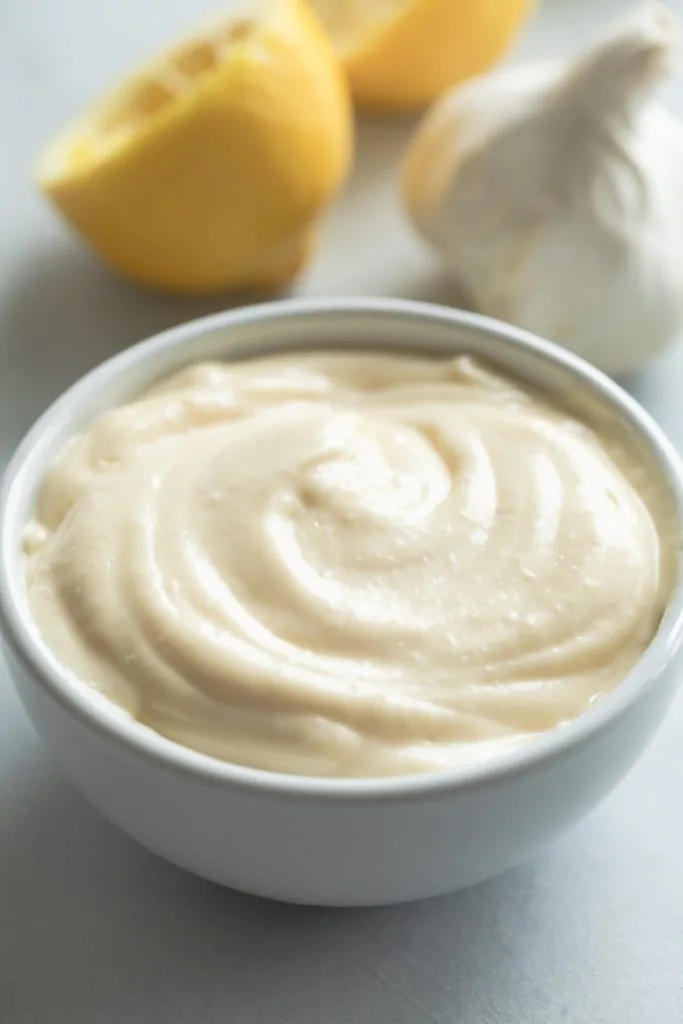
Roasted garlic aioli comes together in a snap and can be served as a dipping sauce, drizzled over burgers and steaks, or with seafood. This recipe is truly so easy and it tastes incredible.

Aioli is a sauce made of garlic, olive oil, and an emulsifier such as egg. It originated in the Mediterranean and is served with a variety of foods.
We’re going to show you how to make roasted garlic aioli sauce the easy way. It doesn’t require egg because we use mayonnaise in its place. The longest part of the process is roasting the garlic and allowing it to cool.
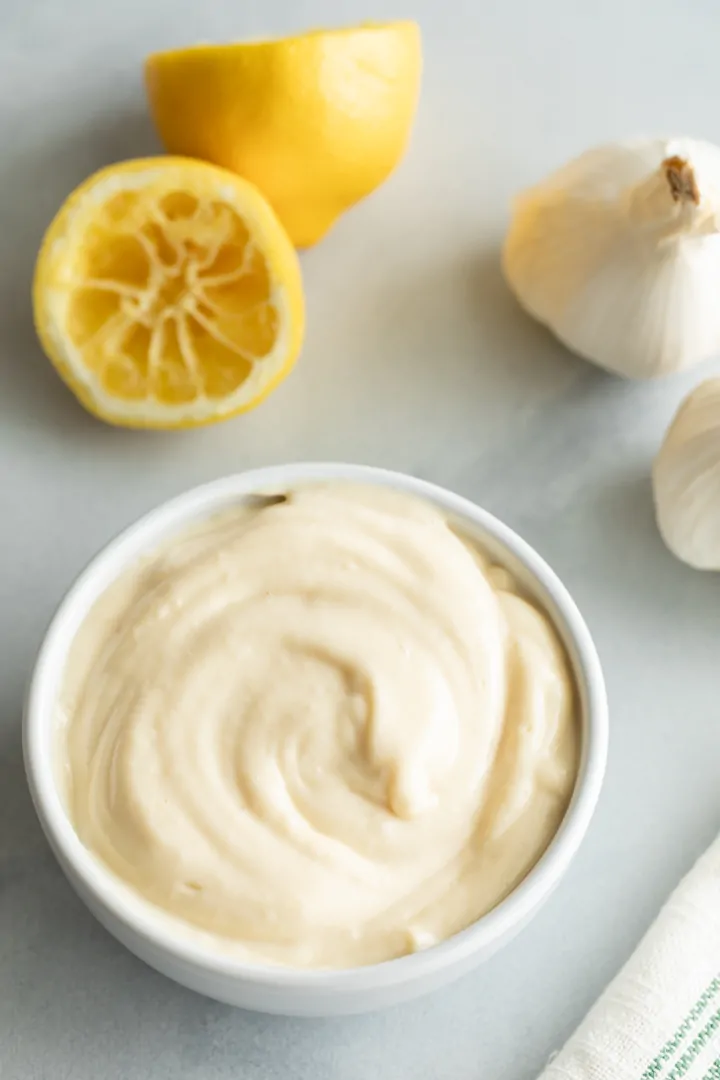
Our aioli sauce features the standard ingredients for a true aioli. It’s seasoned with garlic, lemon juice, and a touch of salt.

Roasted Garlic Aioli Ingredients:
Traditional aioli doesn’t have any flavoring other than garlic. We’ve kept our recipe as close to that as possible. The main difference is we make our aioli with mayo instead of egg.
- Garlic: Look for bulbs that are tight and firm. These will be the freshest and they’ll taste best when roasted.
- Olive oil: Use extra-virgin olive oil or light olive oil.
- Mayonnaise: It’s so much easier than trying to use eggs or yolks as an emulsifier.
- Lemon Juice: Fresh lemon juice will taste the best.
- Salt: Go by taste here! Start with ¼ teaspoon and gradually add more if needed.
You can make this simple aioli in:
- Food processor: Some food processors work better than others. Since this is only a small amount of aioli, a food processor with a large bowl isn’t ideal. We like this one because it’s only a 3 cup capacity.
- Blender: A small blender is also great for blending the ingredients together.
- Immersion blender: These little handheld immersion blenders work great for small amounts as well.

How to make roasted garlic aioli sauce
It’s too easy to make homemade aioli sauce with roasted garlic. You just toss all the ingredients into a food processor and blend it together.
- Roast the garlic. Slice the top off the whole garlic bulb, drizzle with olive oil, and roast inside a foil pack until the garlic is tender.
- Blend the ingredients together. Let the cooked garlic cool, then squeeze it out into a food processor. Add the mayo, lemon juice, and salt then blend until smooth and creamy.
- Refrigerate. Cover and refrigerate the aioli for a couple of hours to allow the flavor to meld together.
How to serve homemade aioli sauce
Aioli sauce can be served in any of these ways:
- With seafood: It’s great with fish and shrimp.
- With potatoes: It’s the perfect dipping sauce for french fries or
drizzle it over roasted potatoes. - With vegetables: It’s wonderful served alongside carrots, artichokes, green beans, zucchini, and cauliflower.

Roasted garlic aioli recipe variations
While true aioli is flavored with garlic alone, you can change things up. Here are some great options to try:
- Add cayenne: Adding a pinch of cayenne will give the sauce some heat.
- Add fresh pepper: Freshly ground black pepper works phenomenally in aioli.
- Add sun-dried tomatoes: Blend ¼ to ½ cup of sun-dried tomatoes with the other ingredients.
- Add Smoked Paprika: Mix in ½ to 1 teaspoon of smoked paprika.
How to store aioli
Refrigerate – Keep the aioli covered and store in the refrigerator for up to 5 days.
If you enjoyed this sauce and want more ideas for dinner, these are great:
Roasted Garlic Aioli

Ingredients
- 3 whole garlic heads
- extra-virgin olive oil
- 1 cup mayonnaise
- 1 tablespoon fresh lemon juice
- ¾ teaspoon salt
Equipment
Instructions
- Preheat the oven to 425° F.
- Slice off the top each head of garlic to expose some of the cloves inside. Place the heads on a piece of foil. Drizzle with olive oil and wrap the foil to form a tight pouch around the garlic.
- Roast for 35-45 minutes, until the garlic is lightly browned and tender.
- Remove from oven and allow to cool. Squeeze the pulp from the skins (you’ll need ⅓ cup).
- In a food processor, combine the roasted garlic, mayonnaise, lemon juice, salt. Pulse until well combined. Taste and adjust the seasoning if needed.
- Refrigerate to allow the flavors to meld together.
Make ahead tip
- Can be made 1 day ahead. Cover and chill.
- Aioli can be kept in the refrigerator for up to 5 days.
Notes
Nutrition
The nutrition information provided is for convenience and as a courtesy only. It is not guaranteed to be accurate because nutrition information can vary for a variety of reasons. For precise nutritional data use your preferred nutrition calculator and input the exact ingredients and brands you used in the recipe.

Would this be good as a dipping sauce for artichokes?
We’ve never tried that but I imagine that would be tasty!
Is there a way to thin this sauce without losing the flavors?
You can add 1-2 tablespoons of water to thin it slightly. I wouldn’t add more than that though.
I made this a few weeks ago and it was delicious. I froze the leftover sauce for a later use. Will the consistency change when I defrost it in the fridge. How long can it stay frozen?
Because it is a mayo-based sauce we do not recommend freezing it.
This recipe was delicious. I served it with fried cauliflower. The sauce is very rich though so we did not use all of it. What is the consensus on whether this aioli can be frozen for use at a later time for other dishes?